
Sidewalks
Concrete Sidewalk
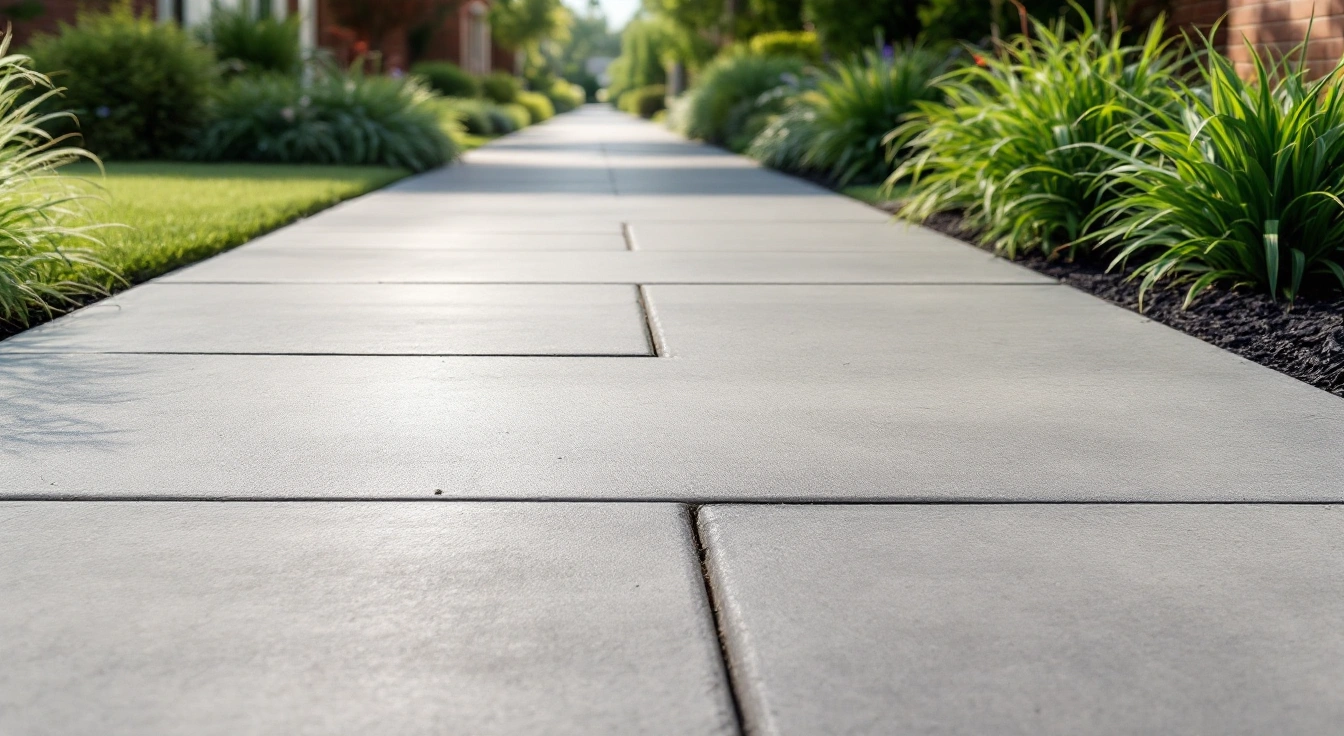
Last updated
Plan a concrete sidewalk from its actual use and governing requirements. Record the measured route and distinguish public work from a private path. Keep vehicle crossings separate when their details differ. Choose suitable support and mix requirements, then show real joints and the complete water route. Use stated thickness for quantity calculations and matched inclusions for cost. A decorative photo cannot establish access compliance or approve the hidden slab detail.
Sections19
- Concrete sidewalk planning decisions
- Private path or public sidewalk?
- Map the useful route
- Width, grades and access scope
- Vehicle crossings and adjoining pavement
- Concrete thickness and supporting work
- A local drawing example
- Does the sidewalk need steel?
- Choose the concrete order
- Real joints and surface lines
- Finish and appearance
- Water route and finished contacts
- Calculate material quantity
- New sidewalk budget
- Existing sidewalk work
- Work schedule and handover
- Keep local requirements with the plan
- FAQ
- Verdict on a concrete sidewalk plan
A concrete sidewalk plan needs a useful route and the right scope for its setting. A private path differs from a public sidewalk. Define the users and fixed contacts before choosing section or finish.
Concrete sidewalk planning decisions
| Decision | Fact to record | Related guide |
|---|---|---|
| Route and use | Destinations, users and clear space | Sidewalk ideas |
| Section | Actual concrete depth and support | Sidewalk thickness |
| Reinforcement | Governing detail and placement | Rebar question |
| Concrete order | Mix needs and exposure | Best concrete for sidewalk |
| Appearance | Approved finish and product system | Stamped walkway |
| New budget | Area and installed inclusions | Sidewalk cost |
| Existing work | Removal limits and correction scope | Replacement cost |
Scroll for more →
The guides below answer different parts of the project. Start with the route's setting so that the technical and cost choices describe the same work. A short walkway and a street sidewalk may look similar while following different requirements.
Private path or public sidewalk?
Identify the land. Name the authority responsible for the work. A private garden path may be planned within a residential site.
A public sidewalk can have current drawings and specifications that govern the work.
Do not assign public requirements from an unrelated city. Find the actual authority's source and the detail that applies. Keep its revision and project notes with the quote request.
For a labeled example, Portland's standard drawing index lists sidewalk and crossing drawings. It explains that its standard drawings are intended for their defined public-work use. That source does not establish one nationwide private-path design.
If approval or who pays is unclear, ask the actual authority. This guide does not decide who pays from the sidewalk's position beside a property. A cost allowance cannot decide who must pay.
Map the useful route
Draw the starting points and destinations. Include the entrance and any connection to a driveway. Show the space needed with cars parked and doors in use.
Keep the intended users in view. A route serving small wheels or a mobility aid may need different design attention from a path used only occasionally. State those facts before choosing a decorative surface.
Mark fixed contacts and level changes. The route should not leave its doorway or street connection to be solved after the main field is poured. A picture of another yard cannot establish those levels.
Use concrete sidewalk ideas to compare direct and curved layouts. A curve should serve a purpose and keep clear space useful. Mature planting belongs on the drawing too.
Width, grades and access scope
Measure the actual clear route. Width between outer paving edges may differ from useful space once a raised border or planting is included. Record the boundary used in the measurement.
For a public route, identify the relevant access requirements. U.S. Access Board public right-of-way guidance addresses its defined setting.
The authority and project scope need to be established before using it for work.
This guide does not declare a route compliant from one width or slope input. Contacts and surface conditions also matter. Keep the review and approval record with the plan.
For private-path planning, use measurements to explain the space. Do not silently label a familiar width as a legal minimum. The site's applicable requirements remain a separate check.
Vehicle crossings and adjoining pavement
A walking route may pass through a driveway. Mark that area as a distinct use on the plan. Vehicle loads can differ from the pedestrian field.
Ask which crossing detail governs public work. If the concrete section changes there, preserve its boundaries. A continuous-looking surface can contain different technical scopes.
The driveway planning guide covers the adjoining vehicle area. It does not replace a public crossing detail. Use the relevant authority source for that contact.
Show how retained pavement and new work meet. The design should state the actual joint or separation detail. Matching top levels alone does not describe everything below the line.
Concrete thickness and supporting work
Use the section suited to the actual use and site. Read concrete sidewalk thickness for the difference between design and quantity inputs. A calculator does not approve thickness from area alone.
Keep concrete depth separate from base depth. A total build-up can include several layers. Ask a quote that gives only one depth to state its parts.
Ground support needs its own scope. If old fill or unsuitable conditions are found, the plan may need a correction. A familiar slab thickness cannot make unknown support suitable.
Ask what excavation and preparation are included. Record how extra work would be measured after the ground is exposed. A reserve allowance is not proof that every condition is covered.
A local drawing example
The April 17, 2019 Portland P-551 drawing shows a typical separated sidewalk with 4-inch concrete over a separate 2-inch compacted aggregate base. Those labels describe its local scope, not a universal sidewalk section.
Read its full notes and referenced specifications before use. Do not take the concrete-depth label as a national rule. Crossing work may use another detail listed by the city.
The example illustrates how a governing drawing separates layers and work settings. For your project, retain the actual current source. Keep any approved project-specific changes with it.
Does the sidewalk need steel?
The answer comes from the actual design and governing detail. Read do sidewalks need rebar rather than assume a universal yes or no. Rebar and welded wire need their specified arrangements recorded.
NRMCA CIP 4 explains that slab reinforcement cannot prevent all cracking. Proper placement can limit crack width. It does not provide a crack-free guarantee.
Keep the support and real joints in view. Steel is not a blanket correction for failed ground. If a change is proposed, ask for its technical basis.
Do not assume fibers or another material give the same result.
Choose the concrete order
Use best concrete for sidewalk for the order checklist. State the intended service and exposure. Keep strength with its test age and basis.
NRMCA CIP 31 explains that concrete is ordered for job-specific needs. There is no one recipe for every sidewalk. A high advertised strength does not choose the section or replace curing.
Record fresh-concrete properties and the placing method. Water adjustments must stay within the established mix limits. Keep accepted changes with the delivery ticket and order.
For bagged mix, use the exact product instructions and yield. A correct bag count answers quantity only. It does not approve a mix or work method for every route.
Real joints and surface lines
NRMCA CIP 6 explains the roles of slab joints. Put the functional layout beside the finish drawing. A decorative groove may have another purpose.
Show contacts with buildings and retained paving. The actual plan should decide those details. This page does not choose one universal bonding or isolation arrangement from a photo.
Keep panel and crossing boundaries visible. It helps the quantity record and any later repair. A pattern drawing alone may omit the slab's functional lines.
Finish and appearance
Approve the actual surface sample. A plain or broom finish differs from a patterned system. The coating can change the look and care needs.
Read stamped concrete walkway for the decorative choice. A stone-like surface remains poured concrete. The apparent units cannot be lifted one by one as pavers.
Discuss actual users when choosing texture. A rough-looking photo cannot establish traction. Keep relevant product information separate from the appearance sample.
For public work, check the governing finish before pricing an alternative. Portland's example drawing specifies a light broom finish within its scope. Another setting must use its own source rather than assume that rule applies everywhere.
Water route and finished contacts
Show where water leaves the surface and what happens next. A fall away from one point is not the full drainage route. The outlet and adjoining land still matter.
For an existing sidewalk, observe ponding after rain. Record its location and date. The observation helps an assessment, but it cannot alone establish the cause of settlement.
If geometry needs to be recorded, the slope guide explains rise-over-run math. It is not a sidewalk access-compliance tool. Keep public-route rules separate from that math.
Price any drain or outlet correction as a complete scope. A channel body alone does not establish a working connection. Keep unpriced drainage work unknown until it is defined.
Calculate material quantity
For a rectangular route, area equals length multiplied by width. With area in square feet and concrete thickness in inches, divide area times thickness by 324 for net cubic yards.
A 4-foot-wide, 50-foot-long example is 200 square feet. At an entered 4 inches, it contains about 2.47 cubic yards before allowance. The width and thickness are stated math inputs, not universal design recommendations.
Use the concrete calculator for measured sections that do not overlap. It uses one thickness per run. Calculate a crossing with another section on its own.
Keep both records.
Keep net volume distinct from any order allowance. Ask the supplier to confirm practical ordering and delivery. A rounded display is not automatically the amount that will fill varying forms or rough ground.
New sidewalk budget
The February 3, 2026 HomeGuide sidewalk guide gives $7 to $17 per square foot installed, with preparation excluded in its example table. Multiplying by 200 square feet gives a planning allowance of $1,400 to $3,400 before that excluded work.
Read concrete sidewalk cost for area and linear-foot units. Width is needed to convert between them. A length-only rate should state the assumed section and inclusions.
Count package material and labor once. A supply-only concrete rate needs another budget layout. Keep ground work and approvals visible rather than present the installed allowance as a complete quote.
Existing sidewalk work
Record changing cracks or level differences. Ask what causes the problem before choosing a surface treatment. A new surface treatment may leave failed support or grade unchanged.
Use sidewalk replacement cost for separate old removal and new installation. Measure both areas. A wider new route can add work where no old concrete exists.
Confirm waste inclusion before adding disposal fees. Keep the actual old section uncertainty visible. Do not present a guessed depth as a precise demolition volume.
Work schedule and handover
Record the material route and working space. A narrow access point may change placing equipment. Keep those facts with the quote and schedule.
NRMCA CIP 11 explains curing as moisture and temperature control. Get actual opening conditions for the intended use. Surface dryness alone does not release every load.
Keep a suitable temporary route under the work plan. Public work may have its own requirements for access during construction. A partly open drawing does not by itself establish an approved temporary path.
At handover, save the as-built limits and mix record. Retain finish products and care instructions. Keep inspection and warranty documents tied to their actual scope.
Keep local requirements with the plan
Use Portland's drawing as a local example and Access Board guidance within its stated public scope. Neither establishes the requirements for every private path or driveway crossing.
NRMCA supplies technical guidance, and HomeGuide supplies a dated budget reference. This site does not approve a route design or determine repair liability.
FAQ
Is a private walkway the same as a public sidewalk?
They may look similar while following different project scopes. Identify the land and responsible authority before choosing requirements. Public work can have governing drawings and approval processes.
A private-path example should not be applied automatically to a street sidewalk, and a general cost allowance cannot decide legal responsibility for repairs.
How do I start planning a concrete sidewalk?
Draw the route and its destinations. Include actual users and any vehicle crossing. Record fixed contacts and the water outlet.
Then establish the suitable section and governing requirements before choosing finish. A measured plan gives a clearer quote request than a photo that shows appearance but hides support and levels.
Does every concrete sidewalk need the same thickness?
No universal section is approved here. Use the actual design and authority detail where applicable. A vehicle crossing may differ from the pedestrian field.
Keep concrete and base depths separate, then calculate quantity from the stated section. A familiar example is useful for arithmetic but cannot establish every project's design.
Do joints prevent every crack?
NRMCA explains joints as part of controlling and accommodating slab behavior. They do not create a universal crack-free promise. Keep the actual layout and supporting work clear.
Decorative grooves can have another role, so a patterned surface should not be treated as proof that the specified joints are provided.
Does the installed sidewalk price include site preparation?
Read the actual scope. The HomeGuide example used here excludes preparation such as base work and grading. A local quote may include defined work, but it should state that clearly.
Keep excluded items visible and count package inclusions once before comparing a planning subtotal with a complete project bid.
Verdict on a concrete sidewalk plan
Build the concrete sidewalk plan around a useful route and its actual requirements. Keep section and support beside the finish. Calculate stated quantities and compare complete price scopes. Retain the work records so future care or repair can start from facts rather than assumptions about hidden details.
Plan the next part of your project
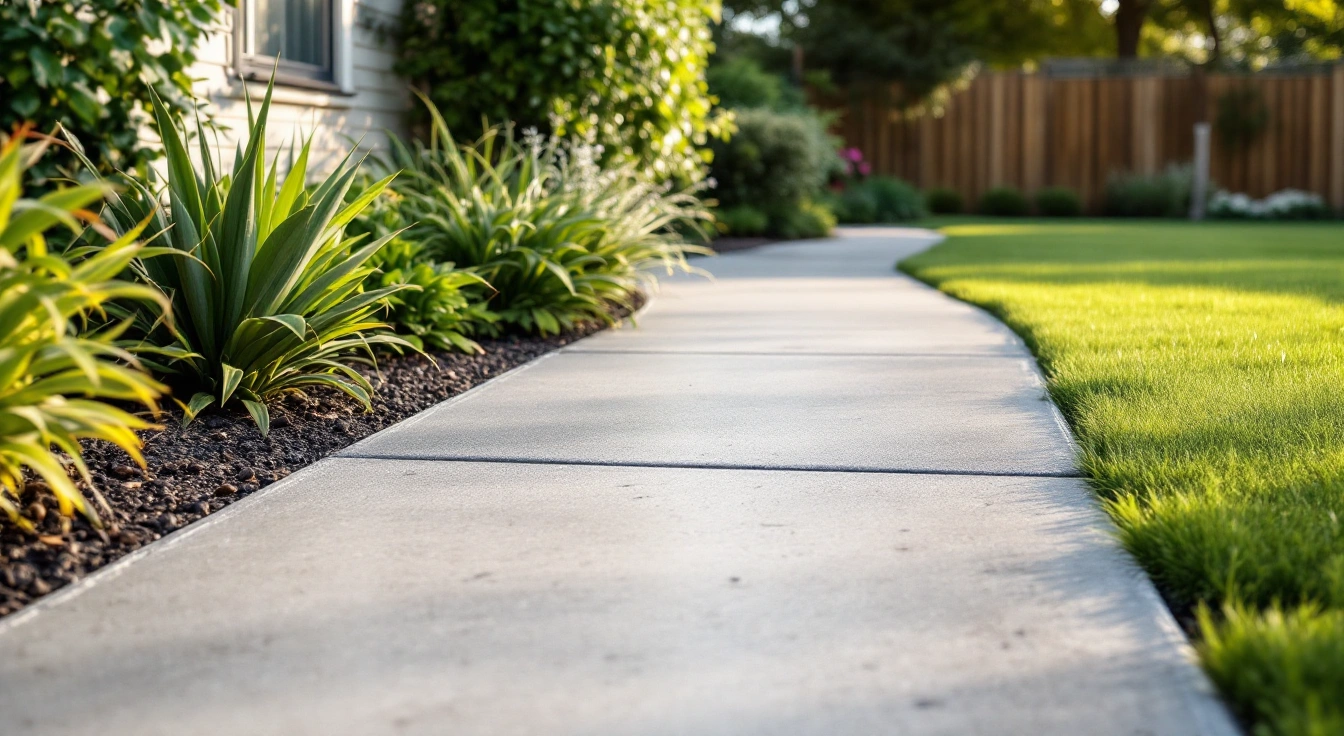
Best Concrete for Sidewalk
Choose sidewalk concrete from its use, exposure and governing detail. Compare mix, reinforcement, joints and curing requirements.
Read the guide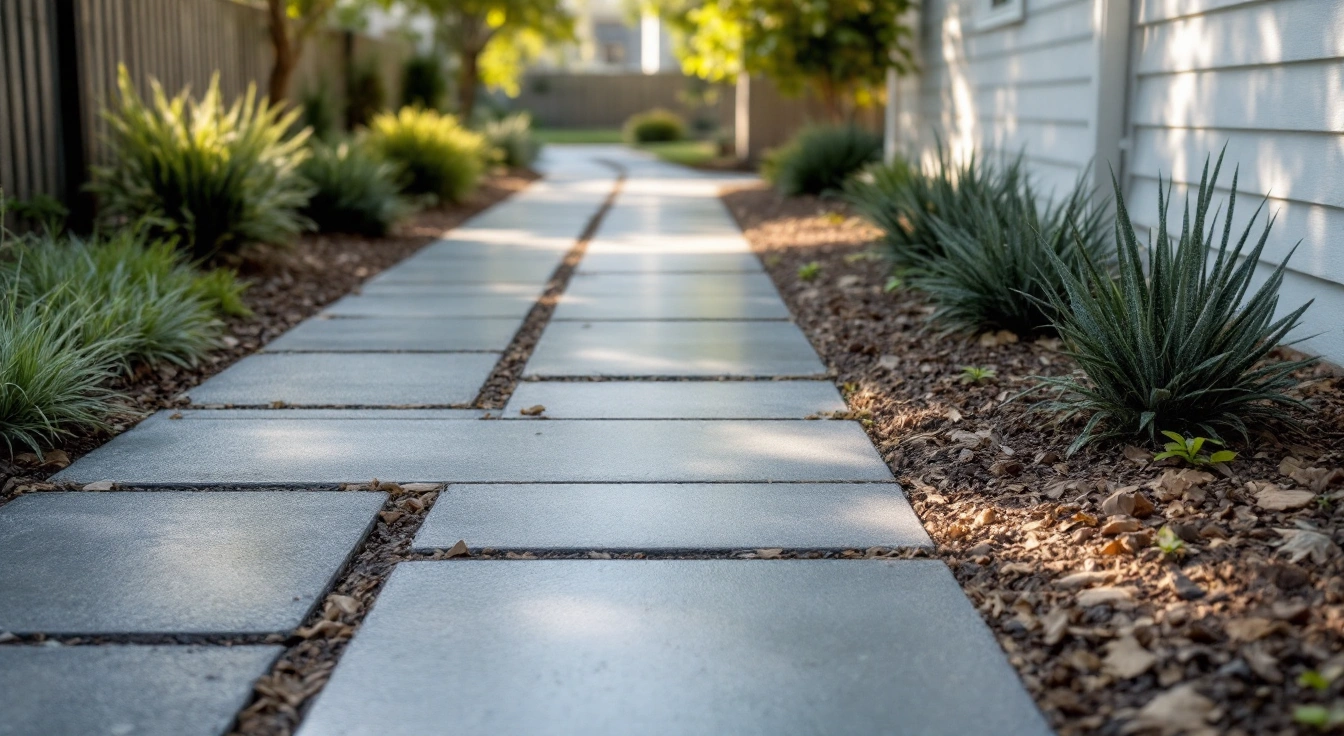
Concrete Sidewalk Ideas
Explore labelled sidewalk and private-path layouts. Compare direct routes, curves, borders, planted edges and vehicle crossings.
Read the guide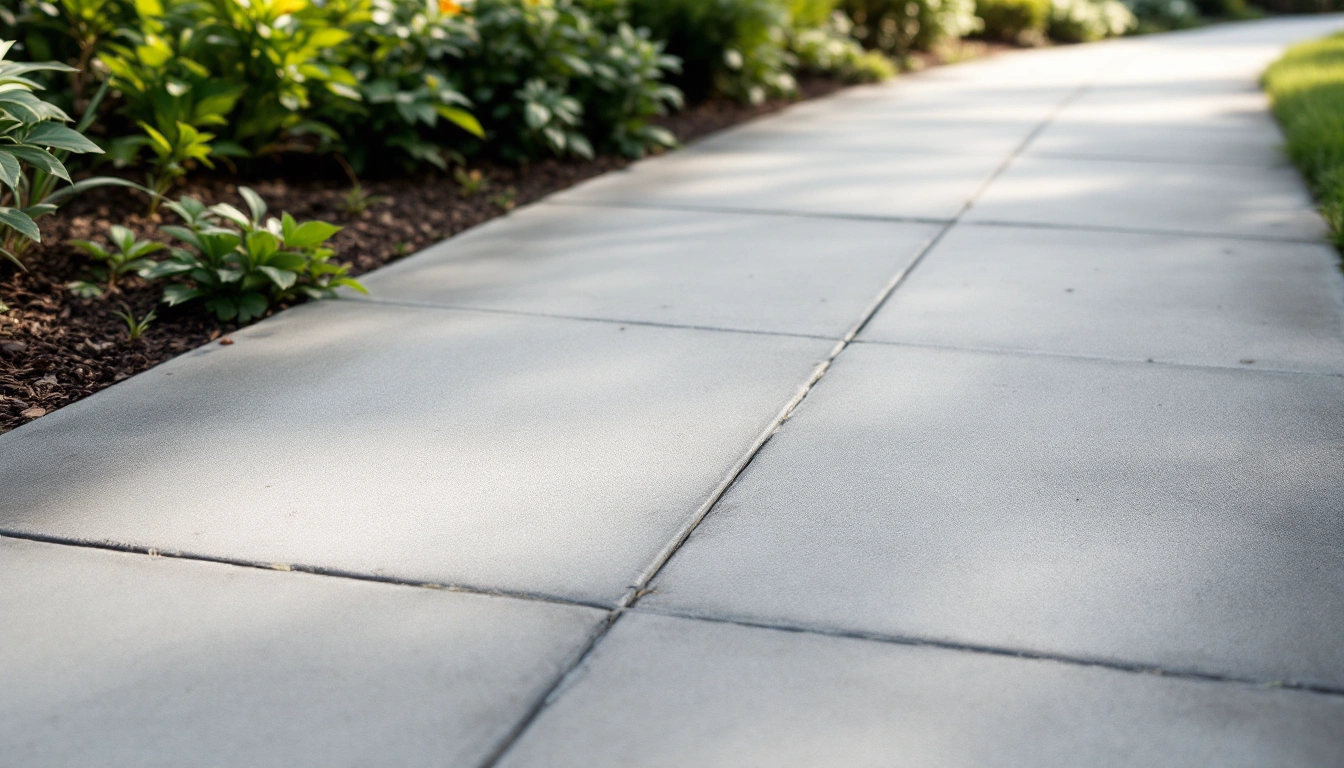
Concrete Sidewalk Thickness
Choose sidewalk thickness for the actual use and governing design. Distinguish private paths, public work and vehicle crossings.
Read the guide
Concrete Sidewalk Cost
Compare concrete sidewalk cost by new-work scope, preparation and removal. Use dated national ranges and keep exclusions visible.
Read the guide
Do Sidewalks Need Rebar
Check whether sidewalk reinforcement is specified for the actual use and local detail. Compare steel, joints, support and exposure needs.
Read the guide
Sidewalk Replacement Cost
Plan sidewalk replacement cost by old-slab removal, new area and preparation. Compare dated ranges and keep site-specific work separate.
Read the guide
Stamped Concrete Walkway
Compare stamped walkway patterns and layout drawings. Plan clear passage, cropped edges, borders, joints, color and water routes.
Read the guide